Visão geral do Notetaker
Note
O Notetaker está sendo implementado gradualmente para usuários elegíveis. Inscreva-se na lista de espera.
O Notetaker fornece resumos gerados por IA, transcrições e itens de ação para suas reuniões gravadas. Compartilháveis por e-mail, link ou arquivo TXT para download, os resumos do Notetaker ajudam você a se manter organizado e a acompanhar rapidamente.
Por exemplo, você pode:
- Compartilhar vídeos de resumo, trechos ou notas da reunião — com proteção por senha opcional
- Pergunte ao Notetaker sobre sua reunião para obter respostas rápidas a partir da transcrição da reunião
- Ativar modelos de resumo adaptados ao seu setor
- Exportar transcrições como arquivos TXT para simplificar a documentação
Antes de começar
- O Notetaker funciona com Zoom, Google Meet e Microsoft Teams mesmo que você não seja o organizador ou a reunião não tenha sido agendada pelo Calendly.
- Resumos não são criados para reuniões com menos de 4 minutos ou sem áudio.
O que esperar quando o Notetaker entrar nas suas reuniões
- Se você for o organizador: O Notetaker entra na sua reunião no horário agendado, solicita consentimento para gravação e inicia a gravação assim que for admitido ou confirmado. Ele aparece como um participante na chamada.
- Se você não for o organizador: O Notetaker ainda entra em seu nome, mas o organizador deve aprovar a gravação e optar por admiti-la ou negá-la. Você será notificado caso a reunião esteja sendo gravada. O Notetaker aparecerá como um participante da reunião.
Saiba mais sobre o que acontece quando o Notetaker entra nas suas reuniões.
Entenda as notificações e controles de gravação
O Notetaker inclui funcionalidades integradas para ajudar todos a entender quando uma reunião está sendo gravada e a tomar medidas, se necessário.
Notificações de gravação
Quando o Notetaker inicia a gravação, ele publica uma mensagem no chat da reunião. Isso informa a todos os participantes que a reunião está sendo gravada. Alguns aplicativos de reunião também podem exibir seu próprio alerta de gravação.
Parar a gravação a qualquer momento
Qualquer pessoa na reunião pode parar a gravação digitando /stop no chat. Os participantes também podem pedir ao organizador ou ao usuário do Calendly para remover o Notetaker.
Se você usar o recurso /stop, a gravação não pode ser reativada para essa reunião.
Aviso prévio
Os participantes podem ser notificados antes da reunião de que o Notetaker irá entrar e gravar. Você pode ativar essas notificações por e-mail nas suas Configurações do Notetaker.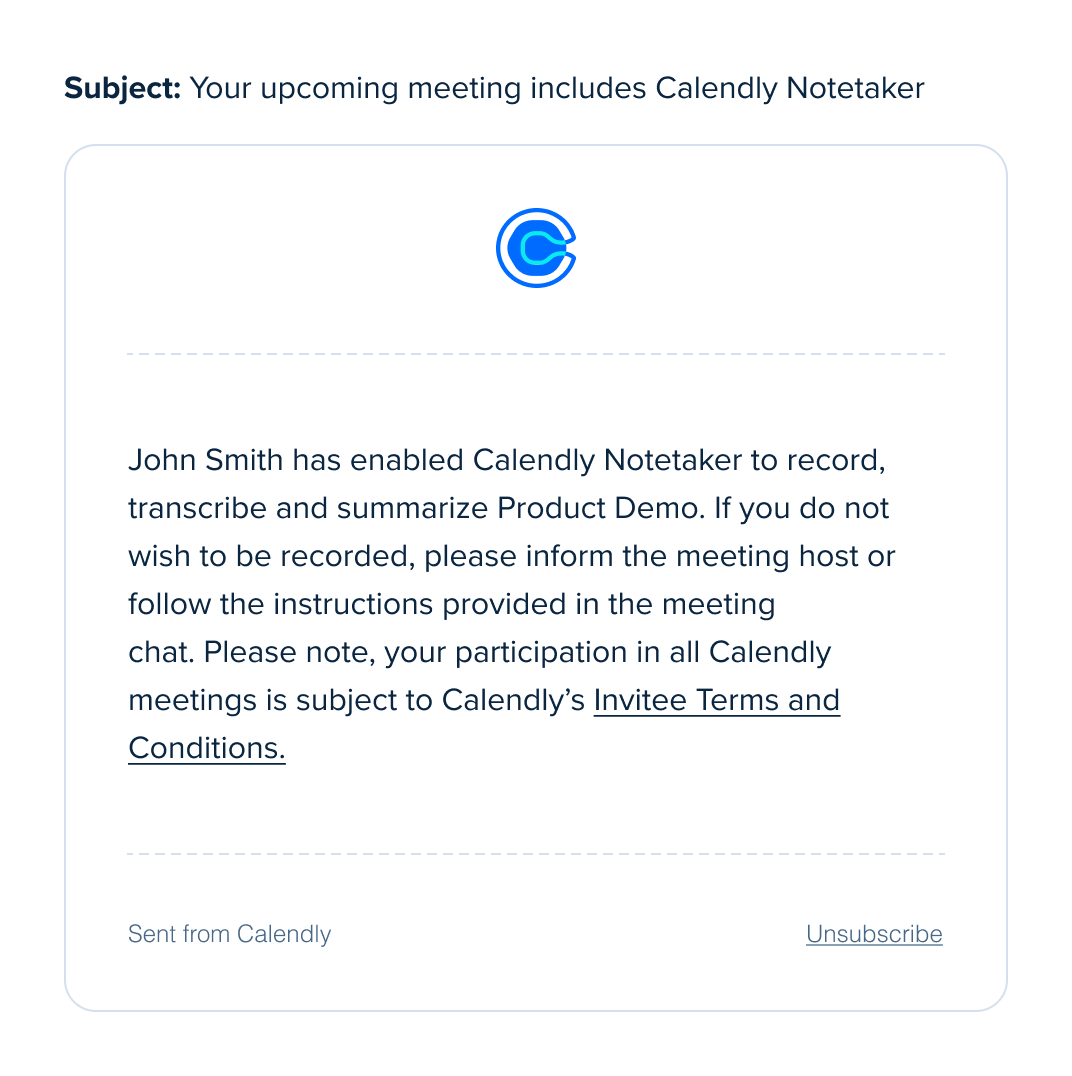
Essas funcionalidades ajudam os participantes a se manterem informados antes e durante a reunião. Elas também oferecem a todos uma forma clara de parar a gravação a qualquer momento.
Pronto para saber mais sobre o Notetaker?
- Como configurar o Notetaker
- Como adicionar o Notetaker às suas reuniões
- Como compartilhar resumos do Notetaker
- Como excluir um resumo do Notetaker
- O que esperar quando o Notetaker entrar nas suas reuniões
- Como visualizar reuniões da agenda no Calendly
- Solução de problemas do Notetaker
Perguntas frequentes
Nota: Esta funcionalidade está atualmente em desenvolvimento e disponível para um grupo limitado de pequenas organizações. Estamos lançando-a gradualmente para mais usuários à medida que continuamos a aprimorá-la.
Se o Notetaker estiver disponível para a sua organização, sim. Proprietários e Administradores podem desativar o Notetaker para toda a organização.
Para saber como, siga os passos em Como remover o Notetaker das reuniões.
Não. O organizador da reunião deve aprovar o Notetaker em cada nova reunião do Zoom.
Você pode ver uma opção “Lembrar desta escolha” no Zoom. Isso funciona apenas para a reunião em que você está. Não se aplica a reuniões futuras.
A caixa “Lembrar” ajuda se o organizador precisar aprovar mais de um Notetaker para gravar uma única reunião. Ela evita pop-ups extras apenas nessa sessão.
Para cada nova reunião do Zoom, o organizador deve aprovar o Notetaker novamente. Não existe uma configuração que permita que o Notetaker grave automaticamente todas as reuniões futuras.
Calendly fornece notificações e controles de gravação para ajudá-lo a obter consentimento para que o Notetaker participe e grave sua reunião.
Você é responsável por decidir se essas funcionalidades atendem às suas necessidades de conformidade, incluindo o Regulamento Geral sobre a Proteção de Dados (RGPD).
No Google Meet e no Zoom, algumas configurações de administrador podem bloquear mensagens de chat de participantes não humanos. Quando isso acontece, os participantes podem não ver as mensagens de consentimento do Calendly Notetaker nem a resposta ao comando /stop no chat da reunião.
O Notetaker foi projetado para acompanhar sua reunião enquanto ela se desloca entre a sala principal e as salas de subgrupos.
Veja como funciona:
- O Notetaker irá entrar automaticamente nas salas de subgrupos quando for convidado
- Ele retornará à sala principal quando o organizador fechar as salas de subgrupos
- Enquanto estiver em qualquer sala, o Notetaker continua com seu comportamento normal, incluindo sair se:
- Todos os participantes saírem da sala
- Houver silêncio prolongado
Dicas para uma experiência tranquila
- Peça ao organizador que feche as salas de subgrupos quando a sessão terminar
- Se necessário, o organizador pode mover o Notetaker entre as salas a qualquer momento
Essa configuração ajuda o Notetaker a manter-se alinhado com o fluxo da sua reunião, seja colaborando em grupos menores ou de volta à sessão principal.
Quando você mudar para outra organização do Calendly, suas configurações do Notetaker e os Meeting Recaps não são transferidos.
Não. Recaps permanecem com a organização original e podem não estar mais acessíveis após você transferir.
Baixe quaisquer meeting recaps que você queira manter e reative o Notetaker após ingressar na nova organização.